
Fortune Gems 500 Demo Guide
The Fortune Gems 500 demo is most useful before the first spin. Use it to identify TaDa Gaming’s 3×3 grid, special fourth reel, controls and Wild rule. A handful of random outcomes proves nothing about future play, so treat the demo as an interface lesson rather than a rehearsal for profit.
Start at the provider demo

The gate confirms that the visitor has reached the game shell before any controls or results appear. It does not prove operator availability, eligibility, costs or any outcome.
Confirm the title and provider
The opening screen should identify Fortune Gems 500 and lead into TaDa Gaming’s own trial. This check helps avoid unrelated downloads, copied game pages and unlabelled embeds. Demo access says nothing about a casino’s Philippine eligibility and should not influence a deposit decision.
Pause before Continue
What are you checking: layout, control labels, responsive behaviour or a particular rule? A narrow goal produces a useful observation. “See whether the game pays” is not one, because a short sequence cannot reveal expected return or feature frequency.
The introduction is part of the test
The source page establishes context, while the portrait introduction shows the next pre-play state.
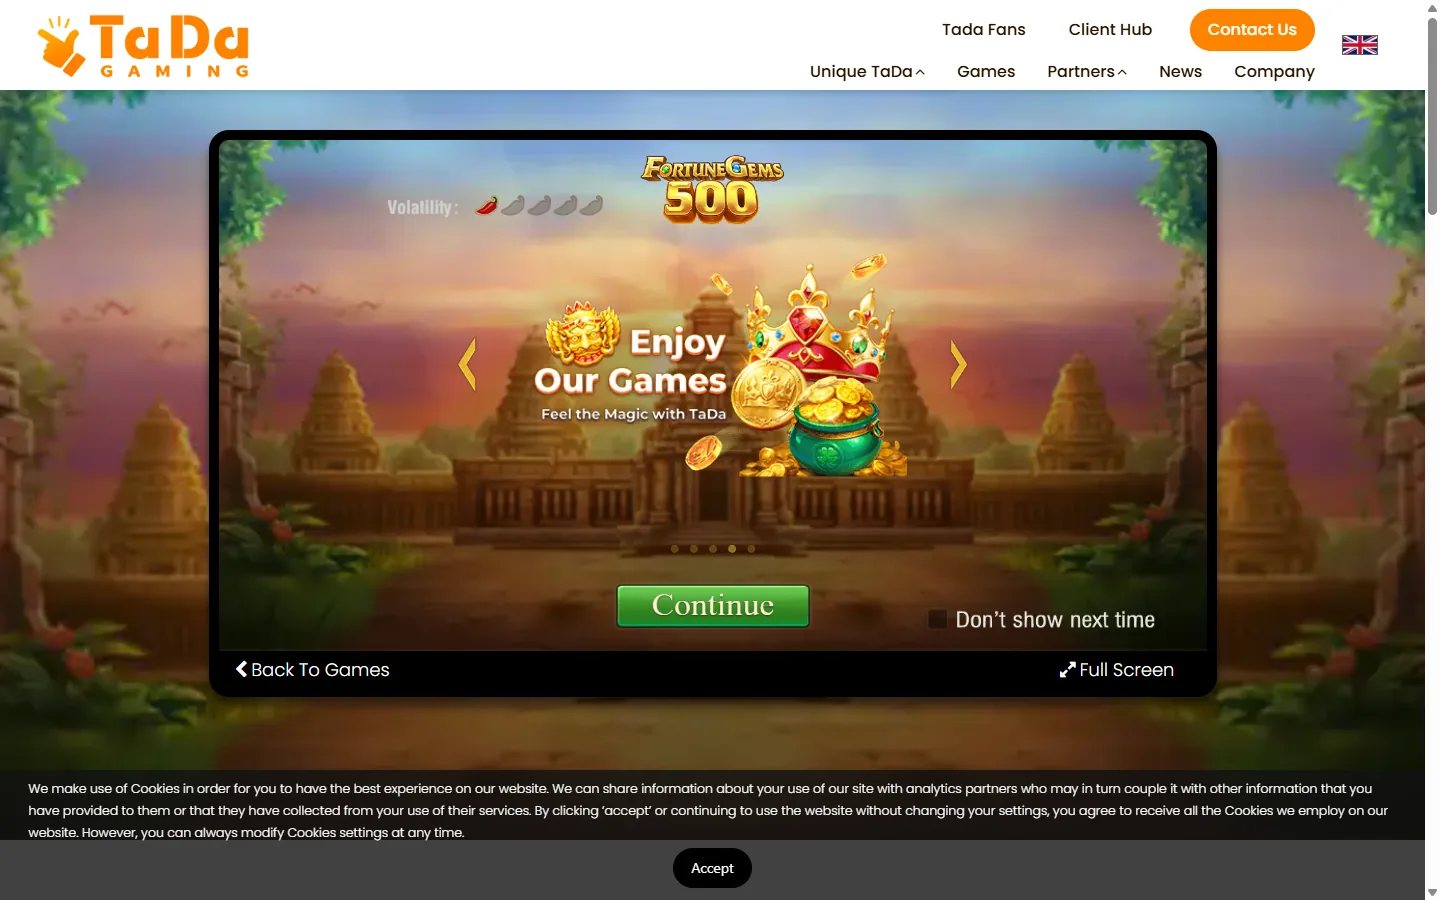
The page ties the game title to its first-party presentation before the trial opens. A provider page does not establish game odds, operator eligibility or a likely result.

The title and Continue control reflow into a narrow introduction before the main interface. This browser-viewport capture is not evidence of physical-device performance or touch behaviour.
Read the introduction before dismissing it
The introduction identifies the title and volatility label before the main controls appear. Use it for orientation, then continue to the help and paytable areas. It lacks the conditions needed to evaluate a payout or draw conclusions about a mechanic.
What the portrait capture supports
At 430×932, the layout reflows and keeps the Continue control visible. Physical-handset performance, touch accuracy, battery use and support across browsers remain untested. For a mobile decision, follow the mobile evidence guide and test the actual device.
There is also a quick-tip state before the game screen. Take the prompt to slow down and get oriented, then move on to the complete rules.
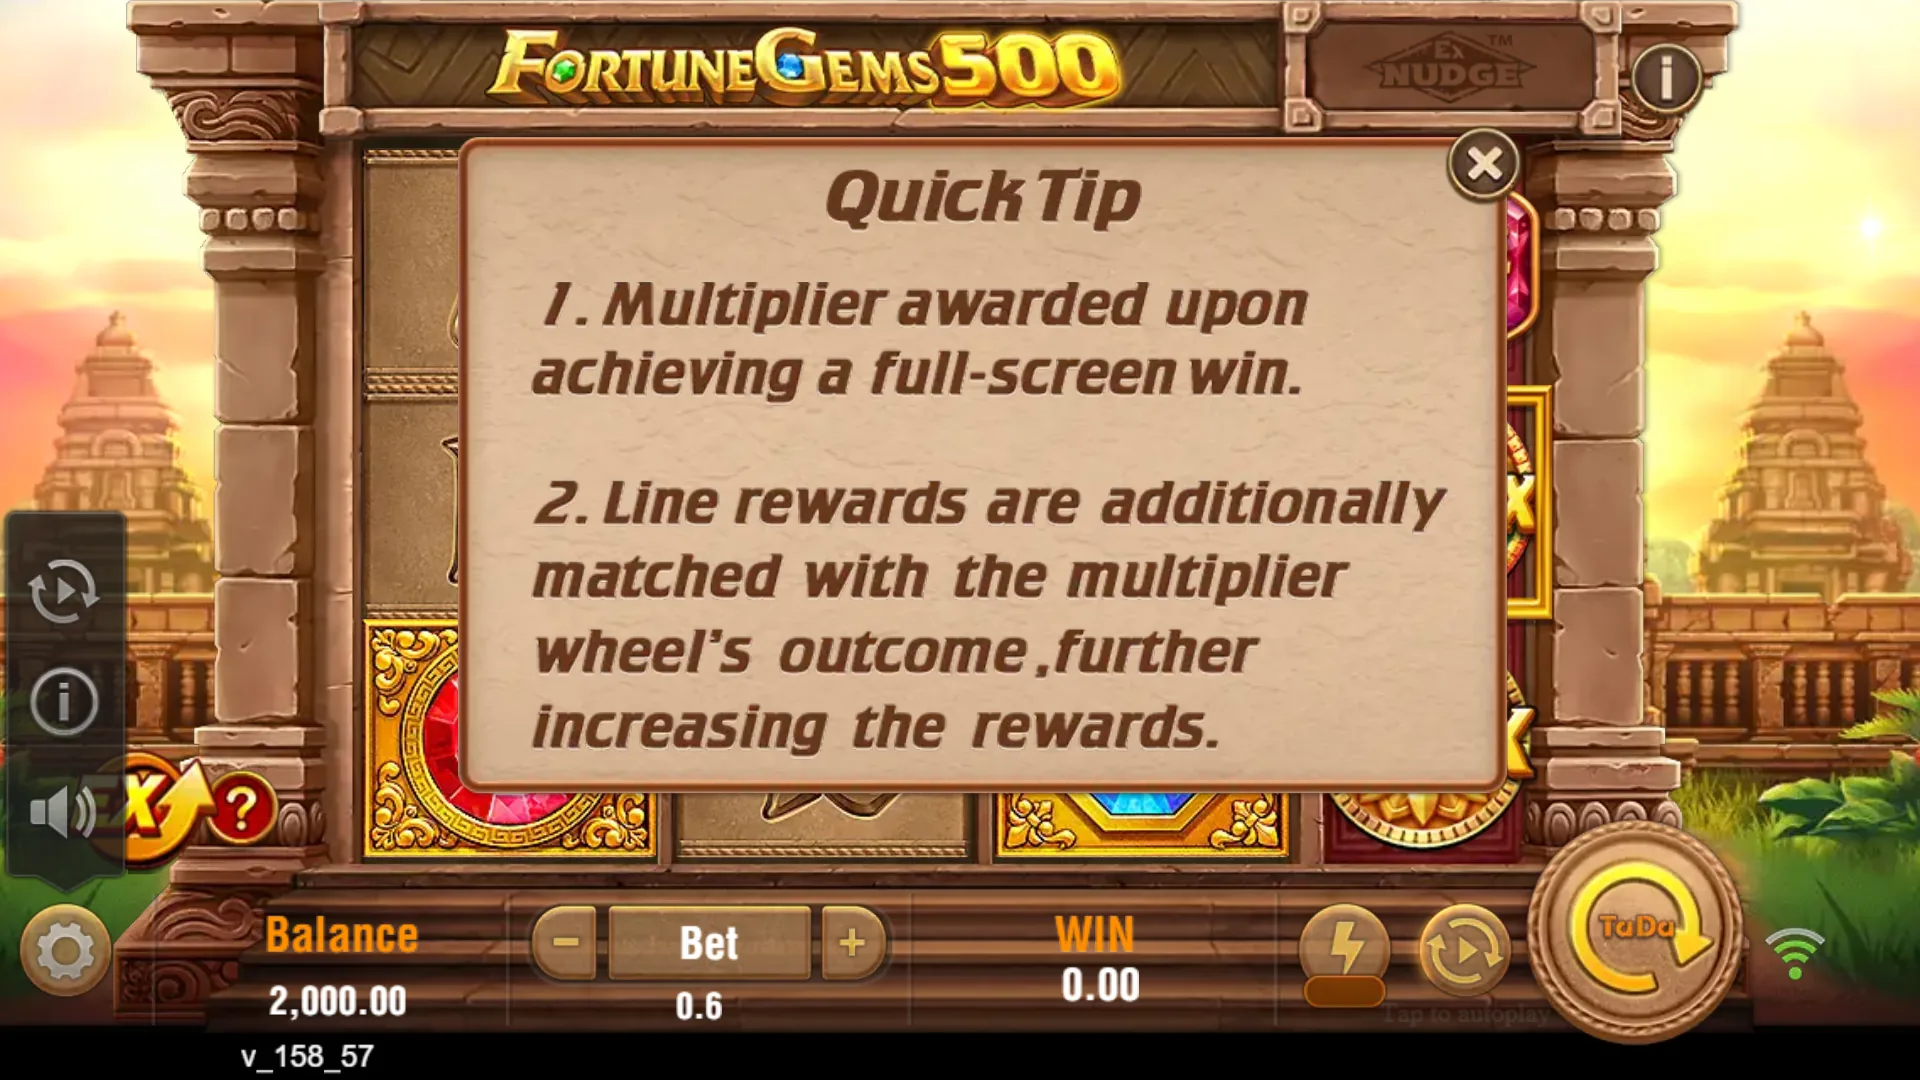
The intermediate instruction screen gives the player another chance to absorb the interface flow before acting. Only the presence of a pre-play instruction state is established; its capture does not prove complete rules or gameplay behaviour.
Map the main screen before spinning
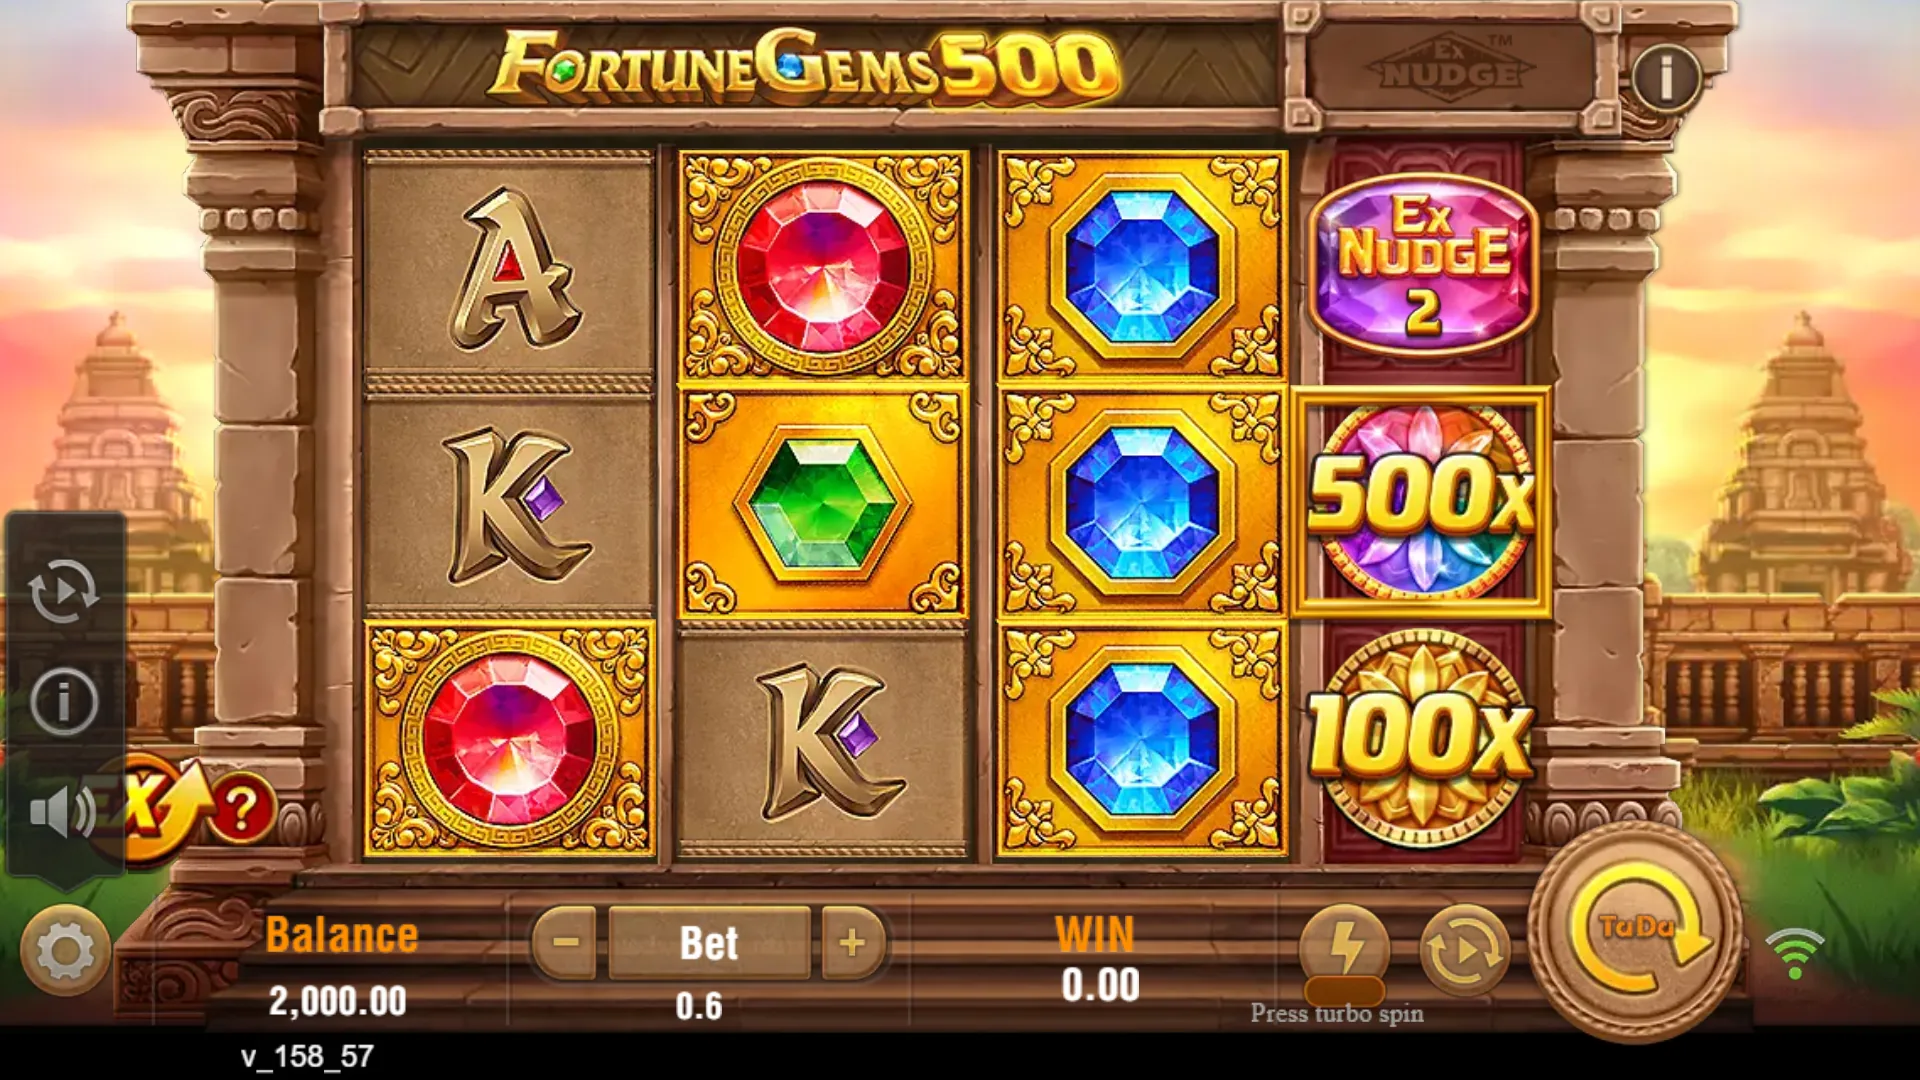
The full frame shows how the primary field, special reel and lower controls fit together. This single state does not establish probabilities, typical outcomes or settlement.
Locate the cost fields
Find balance, total bet and win. If an optional mode is active, watch whether the displayed cost changes. No bet range has been verified here, so the interface—not an invented minimum—must supply the amount for that version.
Separate the result areas
The 3×3 grid carries the base symbol arrangement; the special fourth reel carries feature information. Read each for its own job, then check settlement. The screen guide names the zones in order.
First, the grid crop removes the surrounding controls and leaves all nine primary positions in view. The annotated map then pulls back to the full interface and marks the pre-spin checks.
Use the grid crop to learn the result field, then the annotated frame to locate the pre-spin checks.

Isolating the 3×3 field prevents the adjacent feature strip from being mistaken for a fourth ordinary grid column. The crop does not show complete line rules, symbol values or a settled result.
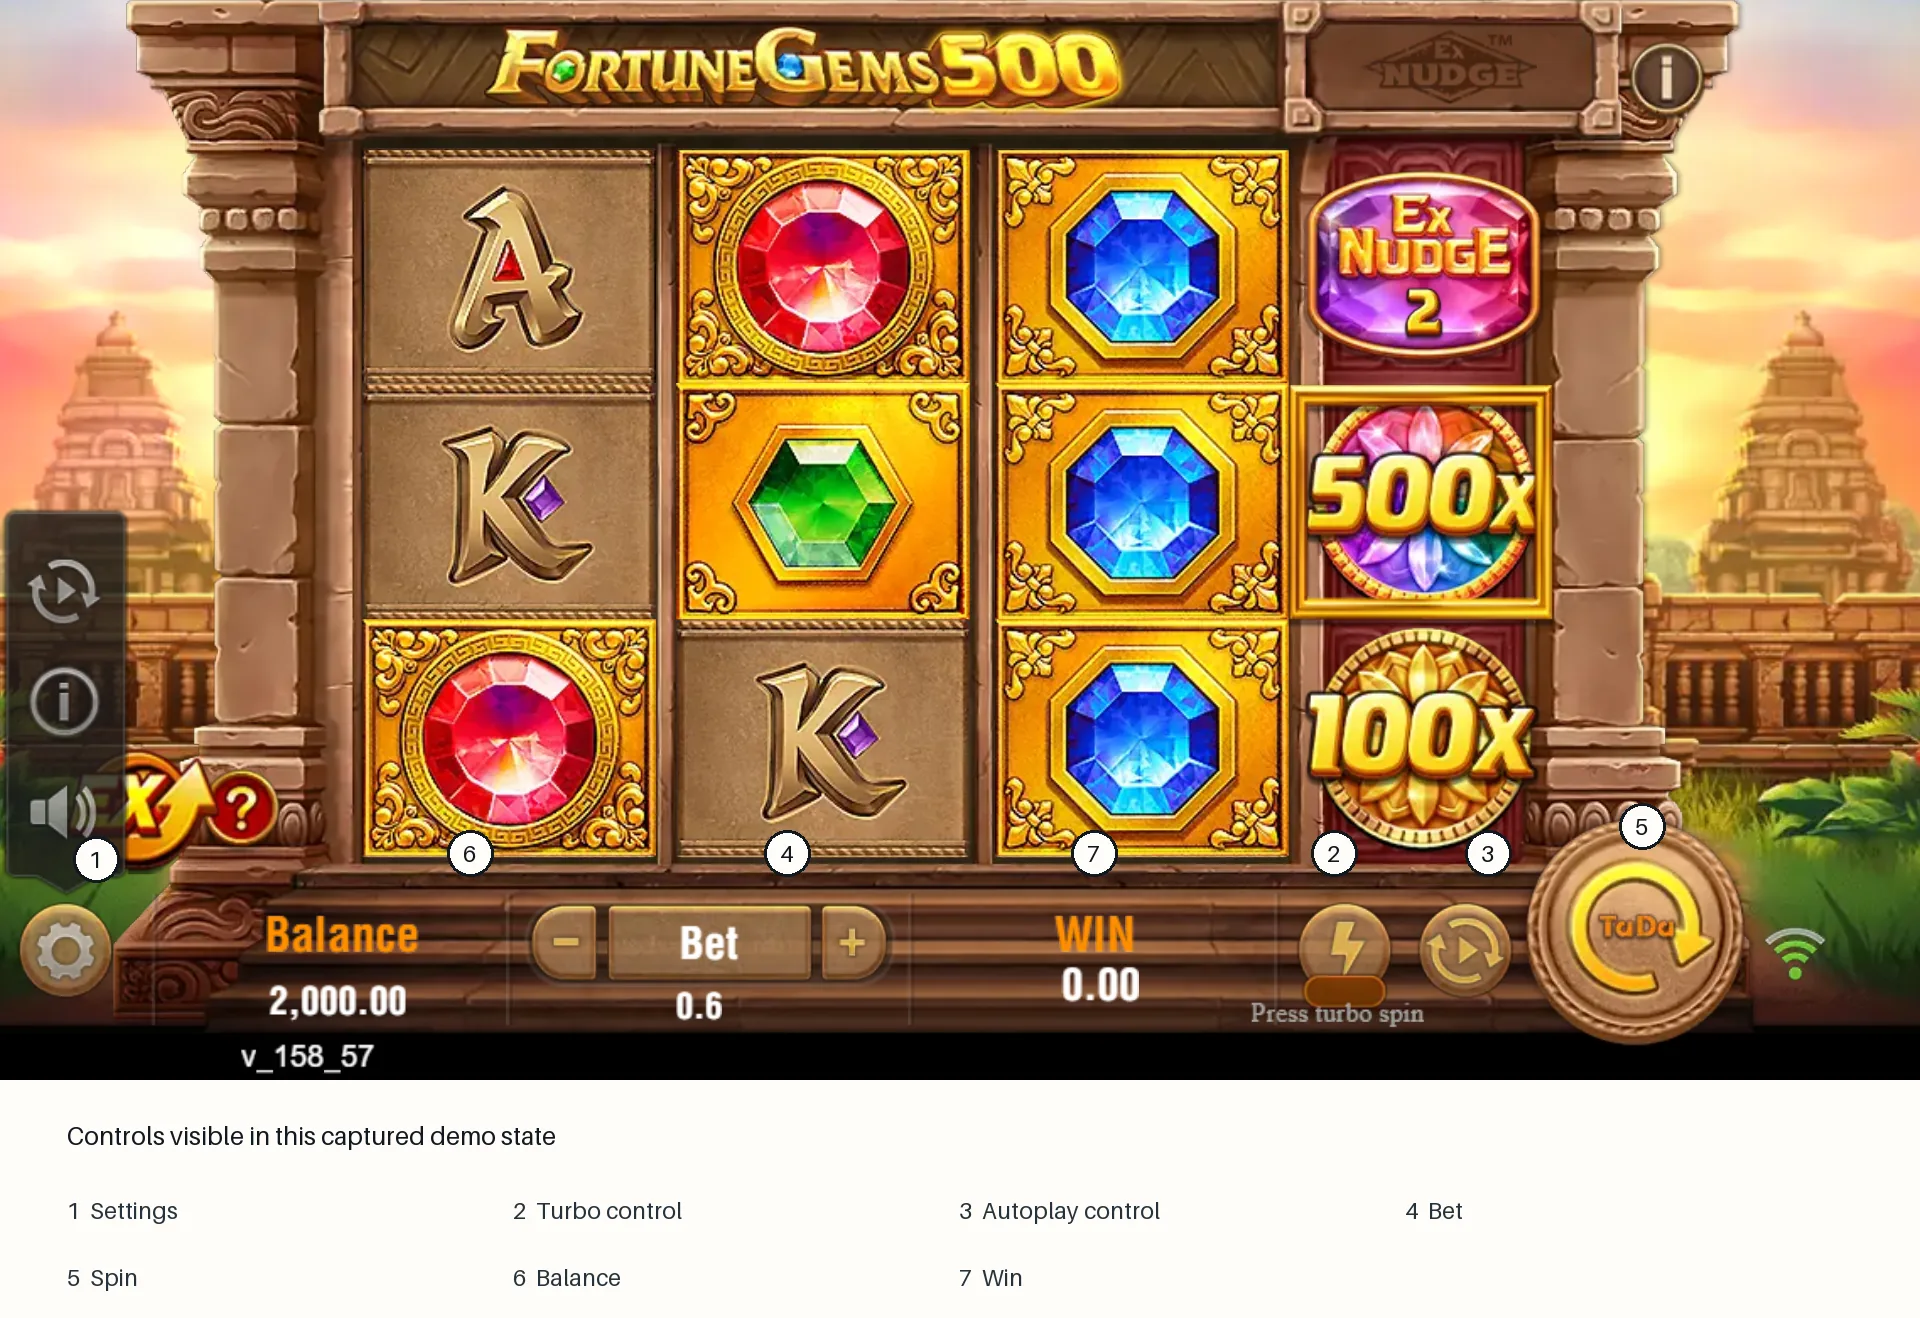
The labels identify settings, speed, autoplay, Bet, Spin, Balance and WIN in the captured version. The map does not prove default settings, universal availability, control limits or changes to odds.
Use the rules as a fact check

The visible wording confirms that Wild appears on all reels and substitutes for all symbols. The panel does not provide symbol values, a complete paytable, frequency or additional conditions outside the view.
A rule the frame settles
The visible Wild panel states that Wild appears on all reels and substitutes for all symbols. This direct first-party rule may be quoted as written.
What remains unknown
Exclusions, symbol values and some qualifying patterns remain outside the panel. That leaves no basis for a worked payout or a claim about how often Wild appears. Keep the rule beside that limit.
Run one controlled cycle
- Record the starting state. Note balance, total bet and optional-mode status.
- Spin once. Do not change multiple settings while learning the flow.
- Read the primary grid. Check visible alignment against the active payline rules.
- Read the fourth reel. Identify the displayed state without predicting settlement.
- Wait. Let every animation finish.
- Record the result. Compare win and final balance with the starting state.
- Stop the test. One clear cycle is enough to understand the sequence.
What this cycle establishes
One controlled cycle shows where the controls sit and how one visible state settles. It says nothing about hit rate, RTP, volatility beyond TaDa Gaming’s LOW-MED label, or the likelihood of the headline multiplier.
When a screenshot is worth keeping
Keep a screenshot only if it answers a defined interface question. Record its source, viewport, state and date. The images here are attributed to TaDa Gaming and were captured on 18 July 2026.
Demo claims: useful or overreach?
A demo is strong interface evidence and weak probability evidence
| Claim | Demo support | Boundary |
|---|---|---|
| Control position | Yes, for the captured version and viewport | May change |
| 3×3 grid and fourth reel | Yes, reinforced by official documentation | Does not disclose every state |
| Wild substitution wording | Yes, directly visible | Exclusions and values are not shown |
| RTP | Only if displayed in complete active rules | Not established here |
| Feature frequency | No | A casual sample is not statistical evidence |
| Operator eligibility | No | Requires current legal and account checks |
| Likely personal outcome | No | Random results remain uncertain |
Stop when the learning goal is closed
Once you can find the rules, read both result areas and recognise settlement, the interface lesson is complete. Further spins add exposure without materially improving it. Keep the provider demo separate from any sponsored partner exit: one teaches the interface, while the other leaves this guide for a third-party platform.
Finish with a clean record
Write down what changed, what stayed visible and what remains unanswered. Common mistake: turning “I did not see it” into “the game does not have it,” or one prominent result into “the game often does this.” For mechanics, continue to the feature guide; for action order, use the step-by-step guide.